A theme panel design is assigned to point of sale terminals to present products and functionality to the operator. The design consists of various elements, one of which is shared panels - panels that can be reused across multiple theme designs without needing to be recreated individually.
Each panel is sized specifically to fit its designated position on the terminal screen, displaying either products or functional buttons and options as required.
Shared Panels Topics
Template
Zonal typically provides a shared panel template that can be used whenever a new panel is created, saving time by automatically applying the relevant panel properties.
Depending on the size point of sale terminals used within your organisation there will be a 12" or 15" template.
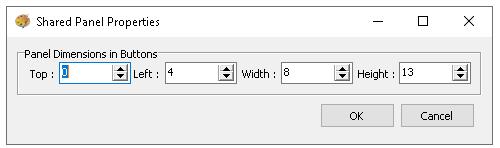
The normal properties of shared panels that Zonal create are listed in the following table which define the overall position of the panel on the terminal screen / within the theme panel design.
| Size | Top | Left | Width | Height |
|---|---|---|---|---|
| 12" Terminals | 0 | 4 | 6 | 11 |
| 15" Terminals | 0 | 4 | 8 | 13 |
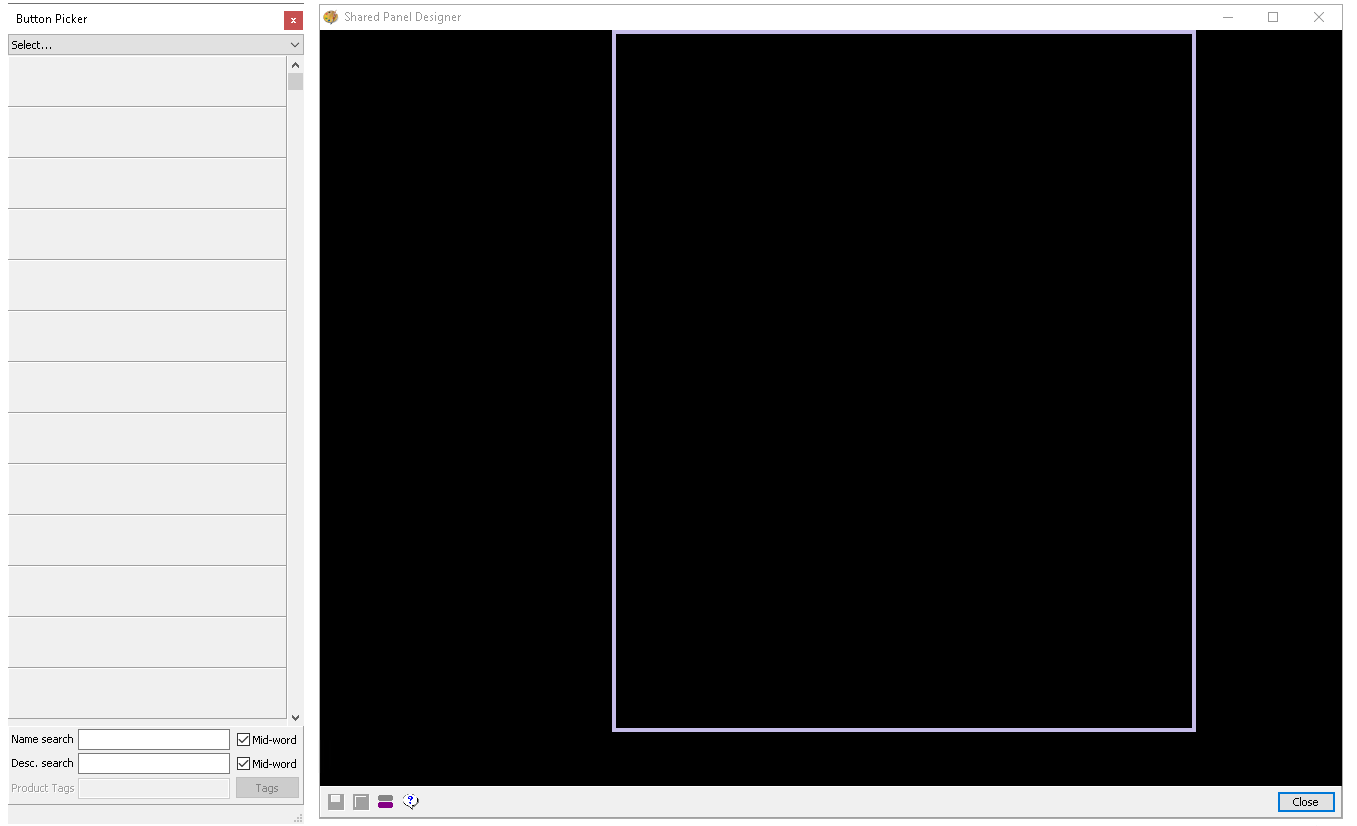
Follow these steps to view the template and properties:
-
Select the Template Shared Panel from the list
-
Click Design
-
The shared panel is displayed, click the Information icon to display the Properties
The panel dimensions in buttons defines the positioning and size of the panel which gives you the overall space to add buttons, in this example 8 buttons (1 x 1 in size) can be added per row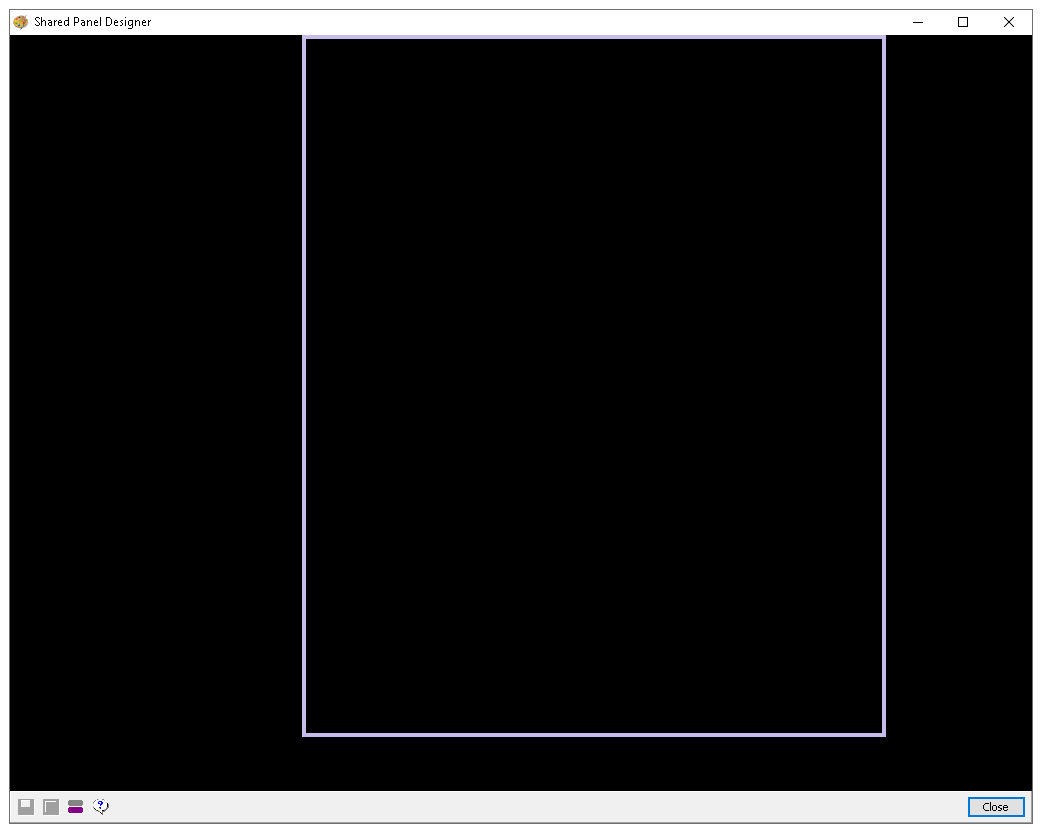
Adding Shared Panels
Follow these steps to add shared panels:
-
Select the Template Shared Panel
-
Click Copy
-
Enter the Shared Panel Name and Description (optional)
Zonal recommends managing shared panels with a naming convention so that panels of the same type are grouped, choose naming that works for your organisation
Food - Type / Brand / Other Information
Drinks - Type / Brand / Other Information
-
The Panel Button Text will be automatically populated with the shared panel name, update the name as required
Zonal recommends updating this text so that it shows a useful name that point of sale operators will understand when the button is displayedAdditional button text overrides can be applied when the shared panel has been added to the either another shared panel or theme panel design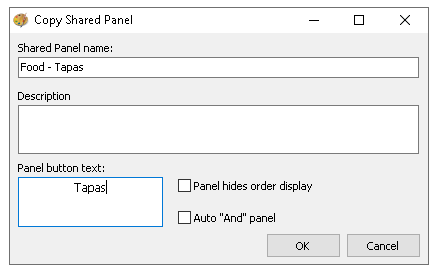
-
Two optional settings can be selected
-
Panel Hides Order Display - when selected the order display will be hidden, this is only ever used when a shared panel covers the full 12" or 15" display on the terminal and is rarely used in many configurations
-
Auto 'And' Panel - when selected any products ordered from this panel will be automatically linked to previous item, it is typically used for panels that related to food or drink modifiers where the modification is to be linked to the item being ordered - for example Coca Cola 'And' No Ice
-
-
Click OK
Editing Shared Panels
Follow these steps to edit shared panels:
-
Select the required Shared Panel from the list
-
Click Edit
-
Update the any fields and settings as required
-
Click OK
Adding Buttons to Shared Panels
Follow these steps to add buttons to shared panels:
-
Select the required Shared Panel from the list
-
Click Design
The shared panel and button pick are displayed, if the button picker is not shown click the icon (purple and grey lines) to display the picker
-
From the Button Picker navigate to the required folders and drag the buttons on to the panel
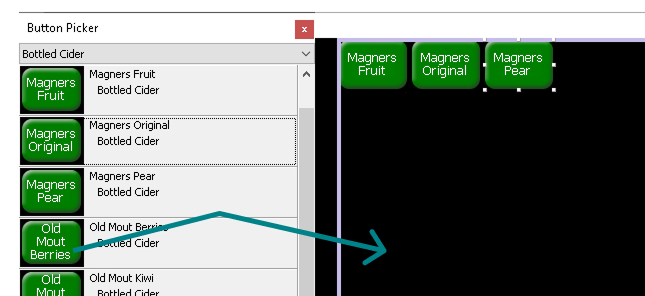
Adjust the properties of the buttons as required, Size | Colour | Position | Security
-
Continue adding all buttons to the panel as required
-
Click Save
Panel Variations
Panel variations offer a flexible solution for managing seasonal menu changes and site specific differences within the same panel, all while retaining a single, original shared panel button.
As part of the site variations assignment, sites can be scheduled with changes to take effect on a specified date, allowing panels to update automatically for easier management of menu changes and updates.
Examples
-
Pay Panel
-
Site A has a hotel so needs a room charge button
-
Site B does not have a hotel so does not need the button
-
-
Food - Main Courses Panel
-
Spring / Summer menu runs until September
-
Autumn menus starts in October
-
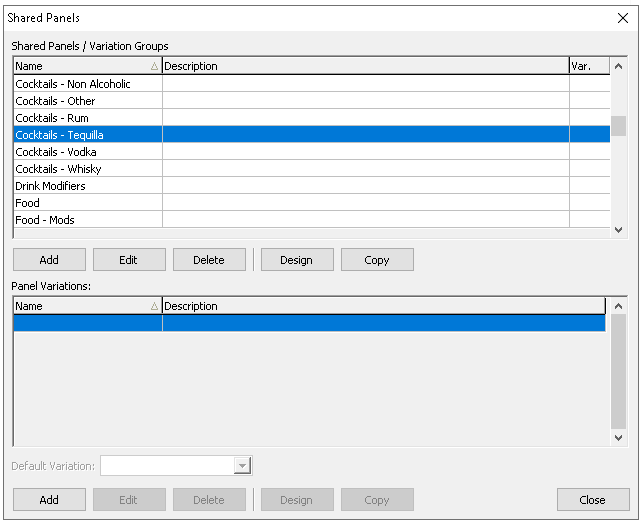
Follow these steps to create a panel variation (where none already exist):
-
Select the required Shared Panel from the list
-
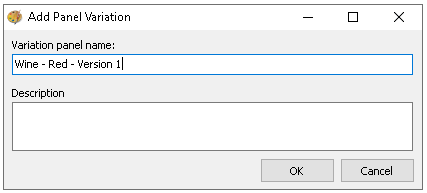
From the Panel Variation section click Add
-
Enter the Panel Variation Name and Description (optional)
-
Click OK
A copy of the original shared panel will now be created, including all the products and functional buttons it contained. In most cases, the original content is still required, so the first variation will replicate the original panel and be assigned as the default variation.
 The default variation can be a useful option where majority of sites all operate with the same panel variation, this can be changed when multiple variations exist
 -
Create a new version of the panel variation click Add or Copy, enter the Panel Variation Name and Description (optional)
When multiple variations exist using the add or copy function will use the selected variation as the base panel configuration -
Click Design and update the buttons as required
Deleting Panel Variations
Follow these steps to delete a variation:
-
Select the required Shared Panel from the list and then select the Panel Variation
-
Click Delete
If the panel variation is assigned to a site it will be prevented from being deleted -
Click OK on the deletion confirmation